Note: All pages below are subject to having relevant Roles and Permissions.
See also: How To Manage MyChildAtSchool User Accounts.
To begin, go to MyChildAtSchool and select User Accounts.

To create New Accounts select New.

From User Account Creation select the radio button Select Students and make your selection for those Students where user accounts need to be created.
Note: to create User Accounts for Pre Admission Groups search by Pre to see Students with a Pre Admission Number or sort by the Admission Number column.

Click Next and you’ll see the below screen.

Complete the options:
- Manual or Auto: As we are creating several Accounts at the same time, we select the Auto radio button. If we want to create Accounts for only one Student we would select Manual.
- Contact priority level and Parental Responsibility – use this to filter the list and select individually, or you can select All.
Tick or Un Tick on Access.
When you’ve made your selections click Generate.
The list below shows the Contact Name, Login Name, Invitation Code, Is Active and linked Students.
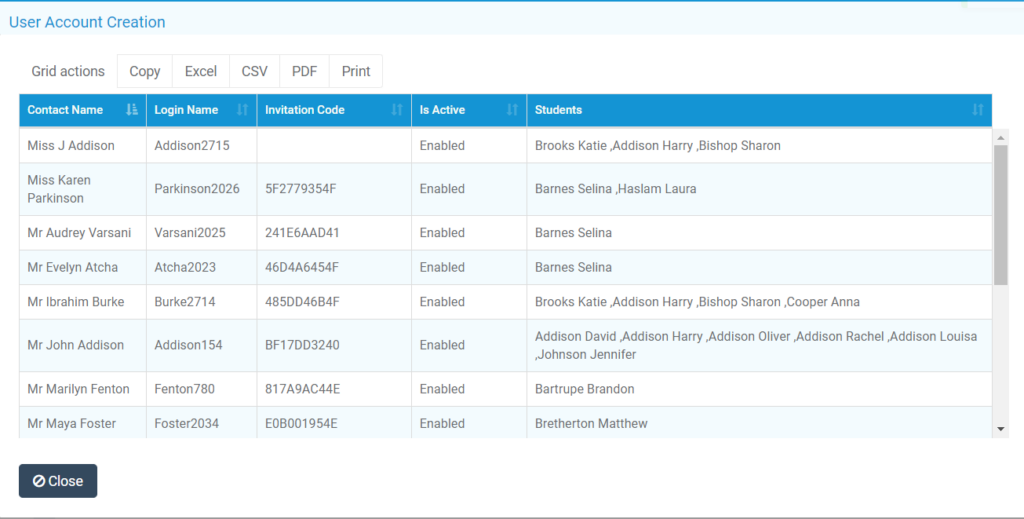
Provide the User Credentials
You can then choose to send the login credentials via Email using the Send Invitation Code Emails button.

The information can also be downloaded or printed, reported on, or sent to the Contacts via via SMS. To send the credentials to the via SMS please see: How to Send an SMS or Email from Bromcom.
Was this article helpful?
That’s Great!
Thank you for your feedback
Sorry! We couldn't be helpful
Thank you for your feedback
Feedback sent
We appreciate your effort and will try to fix the article