How to use ILovePDF Signing Features:
- Scroll down on the home screen and click on Sign PDF:

- Select the PDF file:

- Choose who is going to sign the document:

- If you are creating a signature request for other people, then type in the Name of the person signing and their email address, you may add as many people as you want, next to their email is an option to change from Signer to Validator or Witness.

- Choose the applicable options you wish to use below. Please DO NOT use the Digital Signature Option unless you require a signature that is eIDAS, ESIGN or UETA compliant, we only have 4 of these signature options left this month, we will go back up to 5 from around this date next month. We can increase this if needed. Without the Digital signature option you can still send out a signature request, but it just isn't secured to industry standards.
- Click apply once your settings are setup.
- On the right hand panel you can add any of the following fields: Signature; Initials; Date; Name; Text; Input (allows the user to input information in a field); and company stamp drag these into the appropriate location on the document. Please be aware that we have very limited availability of the "Digital Signature" option, a more encrypted signature option.
- You can add additional documents by clicking on the plus icon in the top right of the document; or you can change the settings or signees of the document(s); or you can save the file as a template by clicking the save button.

- In the bottom right of the document there is an additional security option "Access Code" - enable this and type in a password - You will need to let the user know this password. PLEASE DO NOT USE THE SMS validation
- Click Send when you are ready.
On the recipients end:
They will receive the following email:

If you selected the "Access Code" option then they will need to type in the password, and then fill in the document where requested. They can change their signature in the top right, then they need to click on the sections of the document where they need/want to sign. They will then need to click Sign in the bottom right. There are options in the top right to change pages/documents in the signing request.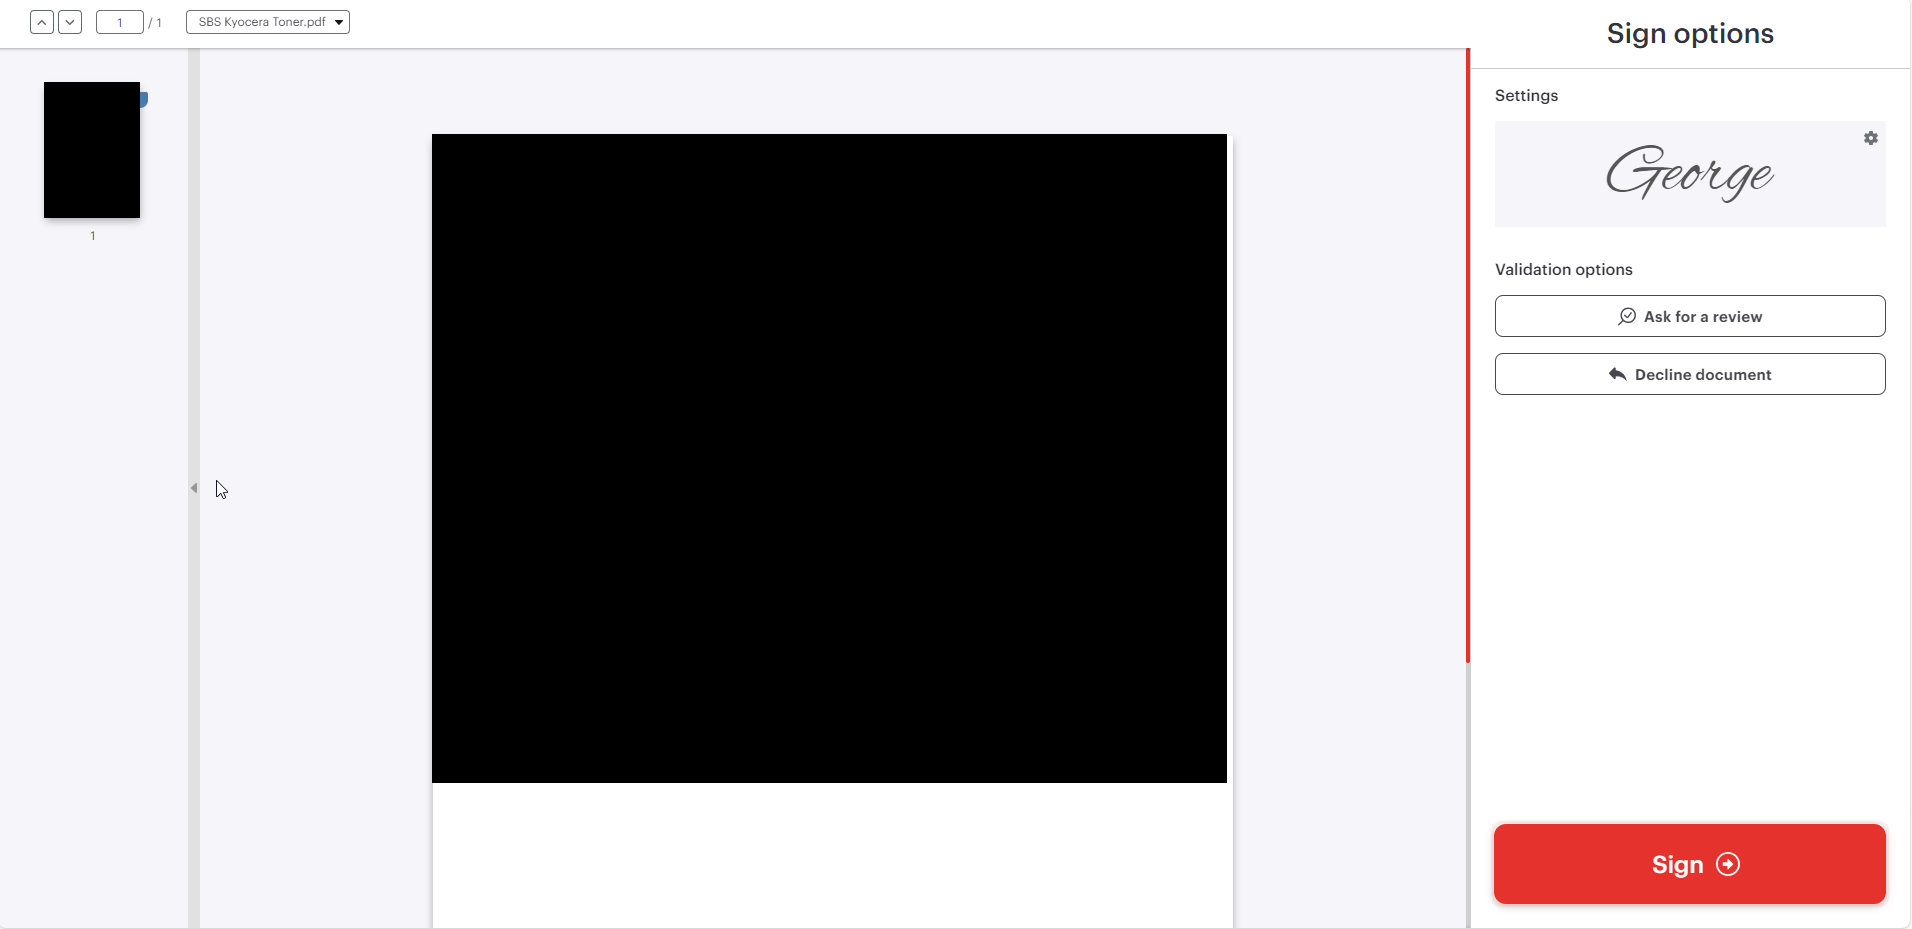
After they have signed the document they will have an option to download the signed document, and download the audit trail.
On your end, you will receive an email for every time a signature request is returned. All signing requests include an Event log, you can find this below:
- Click on the account icon in the top right corner, then click on Signatures

- Scroll down to "Last Activity" then click on the "sent" tab, find the signature request you sent then click the arrow next to download and select "View details"

- Scroll down to Event Log, this shows you when the request was sent, when the document was viewed, signed and returned.
Was this article helpful?
That’s Great!
Thank you for your feedback
Sorry! We couldn't be helpful
Thank you for your feedback
Feedback sent
We appreciate your effort and will try to fix the article